Introduction
What is Geonode
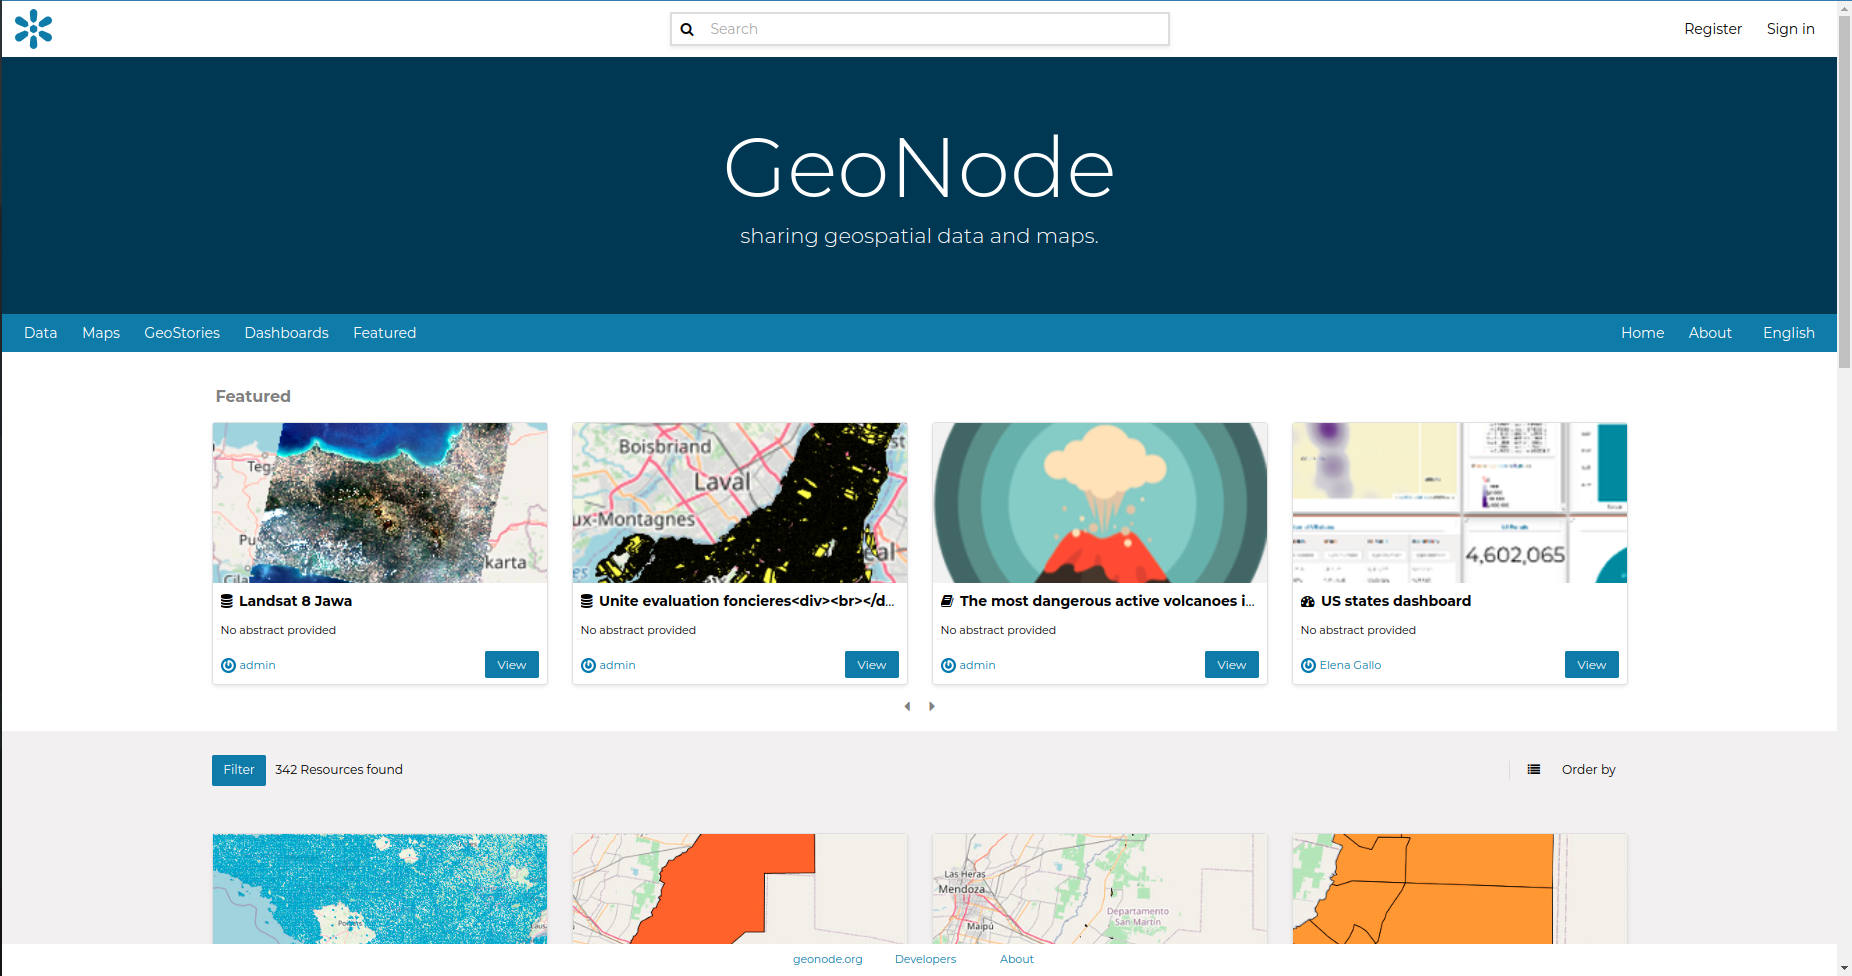
GeoNode is an open-source web-based Geographic Information System (GIS). It is a powerful platform for managing, visualizing, editing and sharing geospatial data.
GeoNode helps users rapidly publish and share geospatial data of all kinds. It also provides users with powerful tools for data analysis and visualization.
GeoNode is designed to be a complete GIS platform and includes support for geodatabases, web mapping applications and web services. GeoNode is used by organizations around the world to help manage, analyze and share geospatial data.

What is geonode-project ?
GeoNode-Project is a Django template that provides users with full Geonode support and enables developers to fully customize geonode without touching the Core Geonode code.
Geonode project is the proper way to run a customized installation of Geonode. The repository of geonode-project contains a minimal set of files following the structure of a django-project.
Geonode itself will be installed as a requirement of your project. Inside the project structure is possible to extend, replace or modify all geonode components (e.g. css and other static files, templates, models…) and even register new django apps without touching the original Geonode code.
In this article I will show you how to setup geonode-project in your PC and start customizing Geonode.
Prerequisites
To install GeoNode-Project, you need to install prerequisites such as Java OpenJDK, Python 3.8, virtualenvwrapper, virtualenv, pip, and Node v14.
Installation of these requirements are very easy and I will not mention it in this article.
- Java OpenJDK
- Python 3.8
- virtualenvwrapper or virtualenv
- pip
- Node v 14
sudo add-apt-repository ppa:ubuntugis/ubuntugis-unstable
sudo apt update -y; sudo apt upgrade -y;
sudo apt install -y build-essential gdal-bin \
    libxml2 libxml2-dev gettext \
    libxslt1-dev libjpeg-dev libpng-dev libpq-dev libgdal-dev \
    software-properties-common build-essential \
    git unzip gcc zlib1g-dev libgeos-dev libproj-dev
Get Started
As for working with every Django project, first we need to create a virtual environment for our depenedencies. I have used virtualenvwrapper but you choose what you are comfortable with.
1 - Create virtual environment
mkvirtualenv my_geonode
workon my_geonode
2 - Clone the geonode-project repo from Github
This command will clone the GeoNode-Project repository from github to the current working directory. The -b flag is used to specify the branch of the repository that we are cloning, in this case 4.1.x. This is the branch that we need to install GeoNode-Project.
git clone https://github.com/GeoNode/geonode-project.git -b 4.1.x
After cloning the repository go to the project and then the src folder
cd geonode-project/src
3 - Install Django framework
pip install Django==3.2.13
4 - Install requirements
Install all the requirements for the GeoNode-Project and install the GeoNode-Project using pip
pip install -r requirements.txt --upgrade

pip install -e . --upgrade
5 - Install GDAL Utilities for Python
pip install pygdal=="`gdal-config --version`.*" # or refer to the link <Install GDAL for Development <https://training.geonode.geo-solutions.it/005_dev_workshop/004_devel_env/gdal_install.html>
6 - Install and Configure the PostgreSQL Database System
Geonode uses postgresql as database. If you already have postgres database in your system you can ignore this step.
sudo sh -c 'echo "deb http://apt.postgresql.org/pub/repos/apt/ `lsb_release -cs`-pgdg main" >> /etc/apt/sources.list.d/pgdg.list'
sudo wget --no-check-certificate --quiet -O - https://www.postgresql.org/media/keys/ACCC4CF8.asc | sudo apt-key add -
sudo apt update -y; sudo apt install -y postgresql-13 postgresql-13-postgis-3 postgresql-13-postgis-3-scripts postgresql-13 postgresql-client-13
7 - Databases and Permissions
Create geonode user
sudo service postgresql start
sudo -u postgres createuser -P my_geonode

# Use the password: geonode
Create my_geonode and my_geonode_data with owner my_geonode
sudo -u postgres createdb -O my_geonode my_geonode
sudo -u postgres createdb -O my_geonode my_geonode_data
create PostGIS extensions
sudo -u postgres psql -d my_geonode -c 'CREATE EXTENSION postgis;'
sudo -u postgres psql -d my_geonode -c 'GRANT ALL ON geometry_columns TO PUBLIC;'
sudo -u postgres psql -d my_geonode -c 'GRANT ALL ON spatial_ref_sys TO PUBLIC;'
sudo -u postgres psql -d my_geonode -c 'GRANT ALL PRIVILEGES ON ALL TABLES IN SCHEMA public TO my_geonode;'

sudo -u postgres psql -d my_geonode_data -c 'CREATE EXTENSION postgis;'
sudo -u postgres psql -d my_geonode_data -c 'GRANT ALL ON geometry_columns TO PUBLIC;'
sudo -u postgres psql -d my_geonode_data -c 'GRANT ALL ON spatial_ref_sys TO PUBLIC;'
sudo -u postgres psql -d my_geonode_data -c 'GRANT ALL PRIVILEGES ON ALL TABLES IN SCHEMA public TO my_geonode;'
change user access policies for local connections in the file pg_hba.conf
sudo nano /etc/postgresql/13/main/pg_hba.conf
Scroll down to the bottom of the document. We want to make local connection trusted for the default user.
Make sure your configuration looks like the one below.
...
# DO NOT DISABLE!
# If you change this first entry you will need to make sure that the
# database superuser can access the database using some other method.
# Noninteractive access to all databases is required during automatic
# maintenance (custom daily cronjobs, replication, and similar tasks).
#
# Database administrative login by Unix domain socket
local   all             postgres                                trust

# TYPE  DATABASE        USER            ADDRESS                 METHOD

# "local" is for Unix domain socket connections only
local   all             all                                     md5
# IPv4 local connections:
host    all             all             127.0.0.1/32            md5
# IPv6 local connections:
host    all             all             ::1/128                 md5
# Allow replication connections from localhost, by a user with the
# replication privilege.
local   replication     all                                     peer
host    replication     all             127.0.0.1/32            md5
host    replication     all             ::1/128                 md5
Restart PostgreSQL to make the change effective.
sudo service postgresql restart
8 - Install GeoServer, Tomcat and run database migrations using paver
Before setting up paver make sure to rename these files
-
src/paver_dev.sh.sample→paver_dev.sh -
.override_dev_env.sample→.override_dev_env
After renaming the files inside the src folder run the bellow commands
# Inside the src folder

sh ./paver_dev.sh setup

sh ./paver_dev.sh sync
9 - Start the project
Everytime that you wanted to run your project you have to use this command.
# Inside the src folder

sh ./paver_dev.sh start
Summary
For more details check the Geonode Documentation
Geonode Documentation

