What is htmx ?
htmx is a library that allows you to access modern browser features directly from HTML, rather than using javascript.
htmx extends and generalizes the core idea of HTML as a hypertext, opening up many more possibilities directly within the language:
- Now any element, not just anchors and forms, can issue an HTTP request
- Now any event, not just clicks or form submissions, can trigger requests
- Now any HTTP verb, not just
GETandPOST, can be used - Now any element, not just the entire window, can be the target for update by the request
When you are using htmx, on the server side you typically respond with HTML, not JSON.
Get Started
Install a fresh Laravel app by running the bellow commands
composer create-project laravel/laravel example-app

# Install composer and node dependencies
composer install && npm install

# Run the server
php artisan serve

# Start vite server
npm run dev
by default Laravel has vite and npm set up for us already so we don’t need to configure anything extra.
Install Htmx
We can install Htmx in two ways:
- Htmx is a dependency-free, browser-oriented JavaScript library. This means that using it is as simple as adding a
<script>tag to your document head. - Using npm package.
For purpose of this article we will use the npm package.
npm install htmx.org
Let’s add Htmx to our resources/js/app.js
import htmx from "htmx.org";

window.htmx = htmx;
Front-end Setup
Create a form and include JavaScript file in the welcome page
<!DOCTYPE html>
<html lang="{{ str_replace('_', '-', app()->getLocale()) }}">
    <head>
        <meta charset="utf-8">
        <meta name="viewport" content="width=device-width, initial-scale=1">

        <title>Laravel</title>

				@vite(['resources/js/app.js'])

		</head>
		<body class="antialiased">

	    <div class="relative sm:flex sm:justify-center sm:items-center min-h-screen bg-dots-darker bg-center bg-gray-100 dark:bg-dots-lighter dark:bg-gray-900 selection:bg-red-500 selection:text-white">
	        <div class="max-w-7xl mx-auto sm:px-6 lg:px-8">
	            <div class="bg-white dark:bg-gray-800 rounded-lg">
	                <div class="p-6 text-gray-900  dark:text-gray-100">

	                    <form
                                                      hx-post="/name"
                                                      hx-target="#names"
                                                      hx-swap="beforeend"
                                                 >
	                        @csrf
	                        <input type="text" name="name" class=" shadow-2xl text-gray-900 rounded-lg p-6 placehoder:text-gray-400"
	                            placeholder="Enter your name">
	                        <input type="submit" class="shadow-2xl dark:bg-gray-900 text-gray-500 p-6 rounded-lg cursor-pointer" />
	                    </form>

											{{-- New item are added inside this div --}}
	                    <div id="names" class="">
	                    </div>

	                </div>
	            </div>
	        </div>
	    </div>

	</body>
</html>
-
hx-post- Issues aPOSTrequest to the given URL -
hx-target- is a CSS selector and specifies the elemetn that the respnse should be loaded into. -
hx-swap- specifies how Htmx swaps the HTML returned into the DOM.Other available options are innerHTML, outerHTML,afterbegin and etc. to see the full list check the Htmx documentation here.
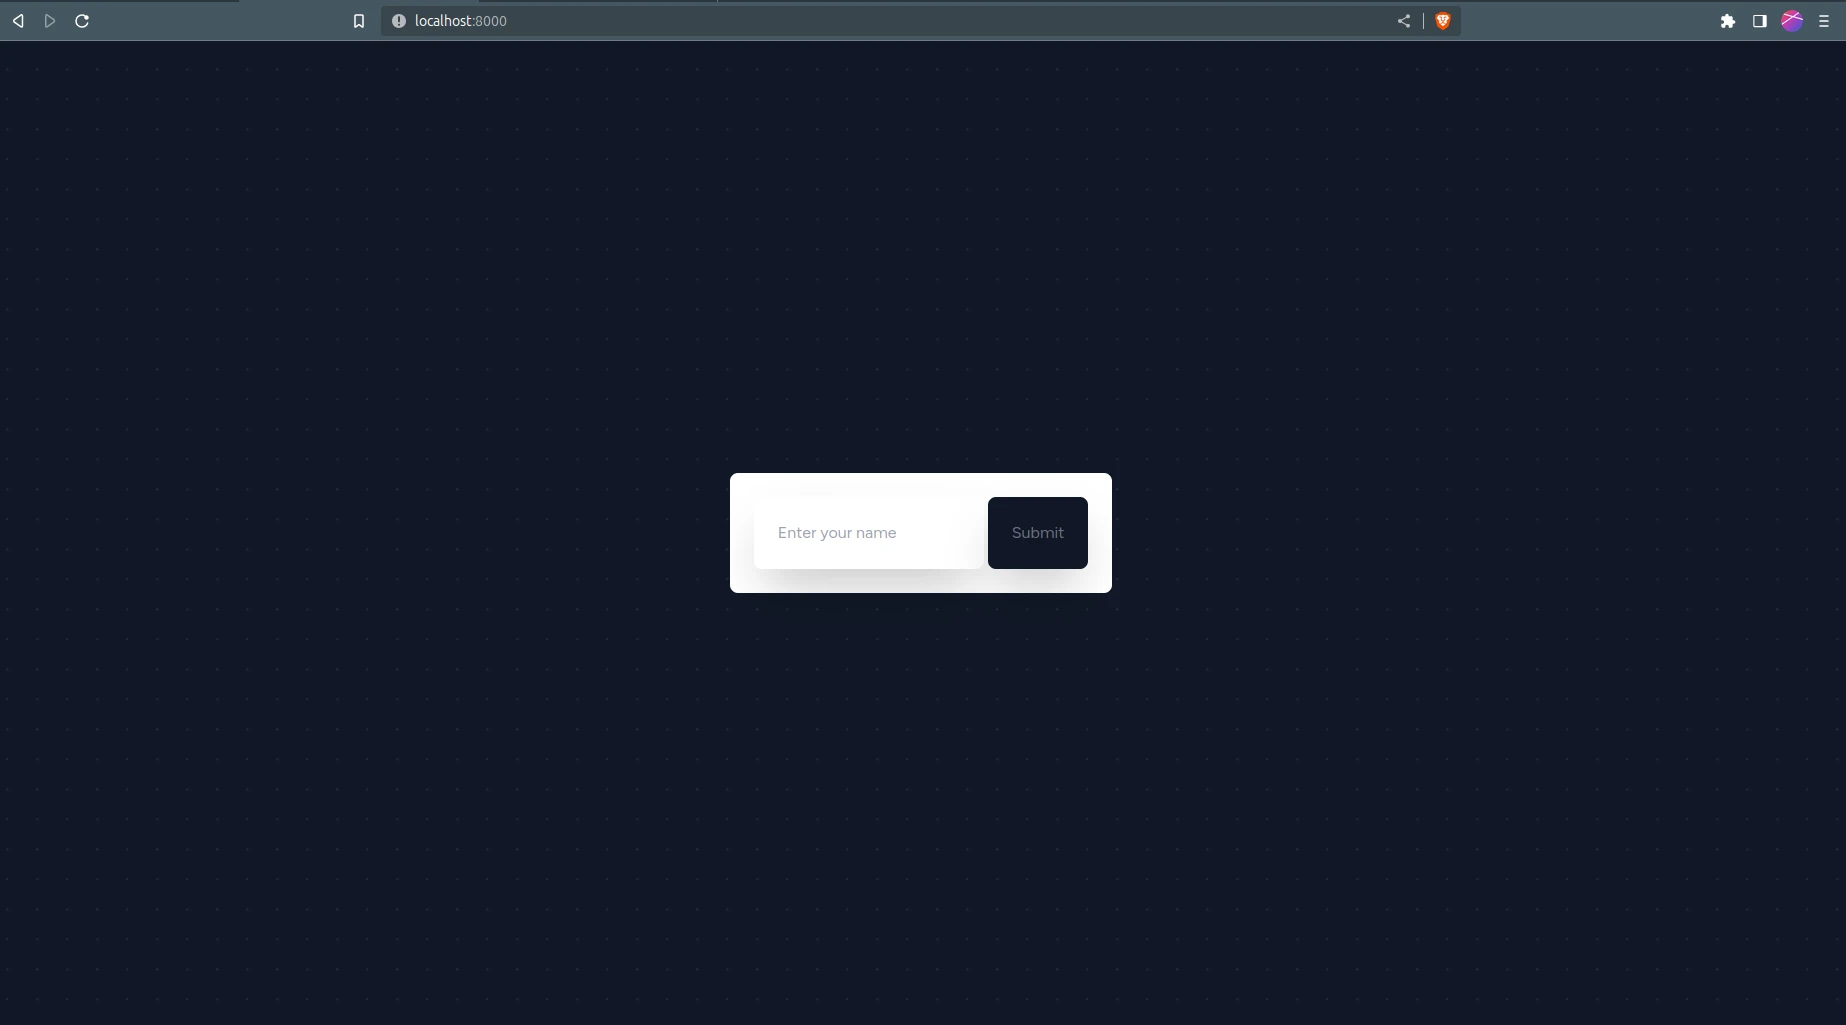
After adding the form to dashboard page we will have a setup like this.
Create Htmx partial
As I mentioned above, we should return Html response for Htmx to add to the DOM so a typical reponse for Htmx should always be html.
We can pass this as a string from the controller method or create a template for it.
In my opinion the template method is clean and I will be using that method in this article.
Of course you should always experiment when learning new tools.
Now we have our form in the dashboard page and ready to create the partial for Htmx response.
Create a folder named partials in the resources folder.
resources
├── css
│   └── app.css
├── js
│   ├── app.js
│   └── bootstrap.js
└── views
    ├── partials
    │   └── name.blade.php
    └── welcome.blade.php
name.blade.php
<div class="p-6">
    Welcome {{$name}}
</div>
Back-end Setup
We have all we need in the front-end side so let’s create all the necessary back-end files.
Create a controller
php artisan make:controller NameController
In the NameController.php add a method called store and return the html partial that we created above.
<?php

namespace App\Http\Controllers;

use Illuminate\Http\Request;

class NameController extends Controller
{
    public function store(Request $request) {

      // Logic and Database Operations

        return view('partials.name',[
            'name' => $request->name
        ]);
    }
}
Create Htmx route
Open routes/web.php file and add the bellow code to it.
routes/web.php
use App\Http\Controllers\NameController;

Route::post('/name', [NameController::class, 'store'])->name('name.store');
This will register the post route that Htmx is sending request to.
Result