Introduction
In this tutorial, we will be creating a simple Todo application using Laravel, HTMX, and Tailwind CSS. This application will allow us to create, update, and delete todos without having to refresh the page. Let’s get started!
Project Setup
First, we need to create a new Laravel project. Open your terminal and run the following commands:
composer create-project laravel/laravel laravel-htmx-todo

cd laravel-htmx-todo

composer install
Setup Database
For this tutorial, we will be using SQLite as our database. Open your .env file and update the database configuration as follows
DB_CONNECTION=sqlite
#DB_HOST=127.0.0.1
#DB_PORT=3306

#DB_DATABASE=laravel
#DB_USERNAME=root
#DB_PASSWORD=
Create Model
Next, we need to create a model for our todos. We will also create a migration and a controller for our model. Run the following command:
php artisan make:model Todo -mc
This command will create a Todo model, a migration file for creating the todos table and a TodoController.
app
├───Console
├───Exceptions
├───Http
│   ├───Controllers
│   │       ...
│   │       TodoController.php
│   └───Middleware
│
├───Models
│       Todo.php
│       User.php
└───Providers
...
├───factories
├───migrations
│     ...
│       2023_09_19_062712_create_todos_table.php
└───seeders
Todo table migration
Open the migration file and update it as follows:
<?php

use Illuminate\Database\Migrations\Migration;
use Illuminate\Database\Schema\Blueprint;
use Illuminate\Support\Facades\Schema;

return new class extends Migration
{
    /**
     * Run the migrations.
     */
    public function up(): void
    {
        Schema::create('todos', function (Blueprint $table) {
            $table->id();

            $table->string('name');
		        $table->boolean('is_completed')->default(false);

            $table->timestamps();
        });
    }

    /**
     * Reverse the migrations.
     */
    public function down(): void
    {
        Schema::dropIfExists('todos');
    }
};
This migration will create a todos table with id, name, is_completed, and timestamps fields.
Todo model
Open the Todo model and update it as follows:
<?php

namespace App\Models;

use Illuminate\Database\Eloquent\Factories\HasFactory;
use Illuminate\Database\Eloquent\Model;

class Todo extends Model
{
    use HasFactory;

    protected $fillable = ['name','is_completed'];
}
This model allows us to interact with our todos table. The $fillable property tells Laravel which fields are mass assignable.
Migrate the database
Now, let’s run our migration to create the todos table. Run the following command:
php artisan migrate
Edit the views
Next, we need to create our views. For this tutorial, we will be using Blade, Laravel’s powerful templating engine. Create a new file app.blade.php inside the resources/views directory.
resources
├───css
├───js
└───views
    │   app.blade.php
    │   welcome.blade.php
add the following code to app.blade.php file.
<!DOCTYPE html>
<html lang="en">
<head>
    <meta charset="UTF-8">
    <meta name="viewport" content="width=device-width, initial-scale=1.0">
    <title>TODO APP</title>
</head>
<body class="bg-gray-200 min-h-screen flex items-center justify-center">

	<div class="bg-white shadow-md rounded px-8 pt-6 pb-8 mb-4 flex flex-col">
			<h1 class="mb-5 text-2xl">Welcome to the TODO app</h1>
	</div>

</body>
</html>
This is a simple HTML template for our application.
Setup routes
Next, we need to define our routes. Open the web.php file inside the routes directory and add the following code:
// web.php

use App\Http\Controllers\TodoController;
use Illuminate\Support\Facades\Route;

Route::get('/', [TodoController::class,'index'])->name('index');
This route will handle the display of our todos.
Setup Controller
Now, let’s create the logic for displaying our todos. Open the TodoController and add the following code:
<?php

namespace App\Http\Controllers;

use Illuminate\Http\Request;

class TodoController extends Controller
{
    public function index(Request $request) {
        return view('app');
    }
}
This controller method will return our app view.
Run the Server
At this point, we can test our application. Run the following command to start the Laravel server:
php artisan serve
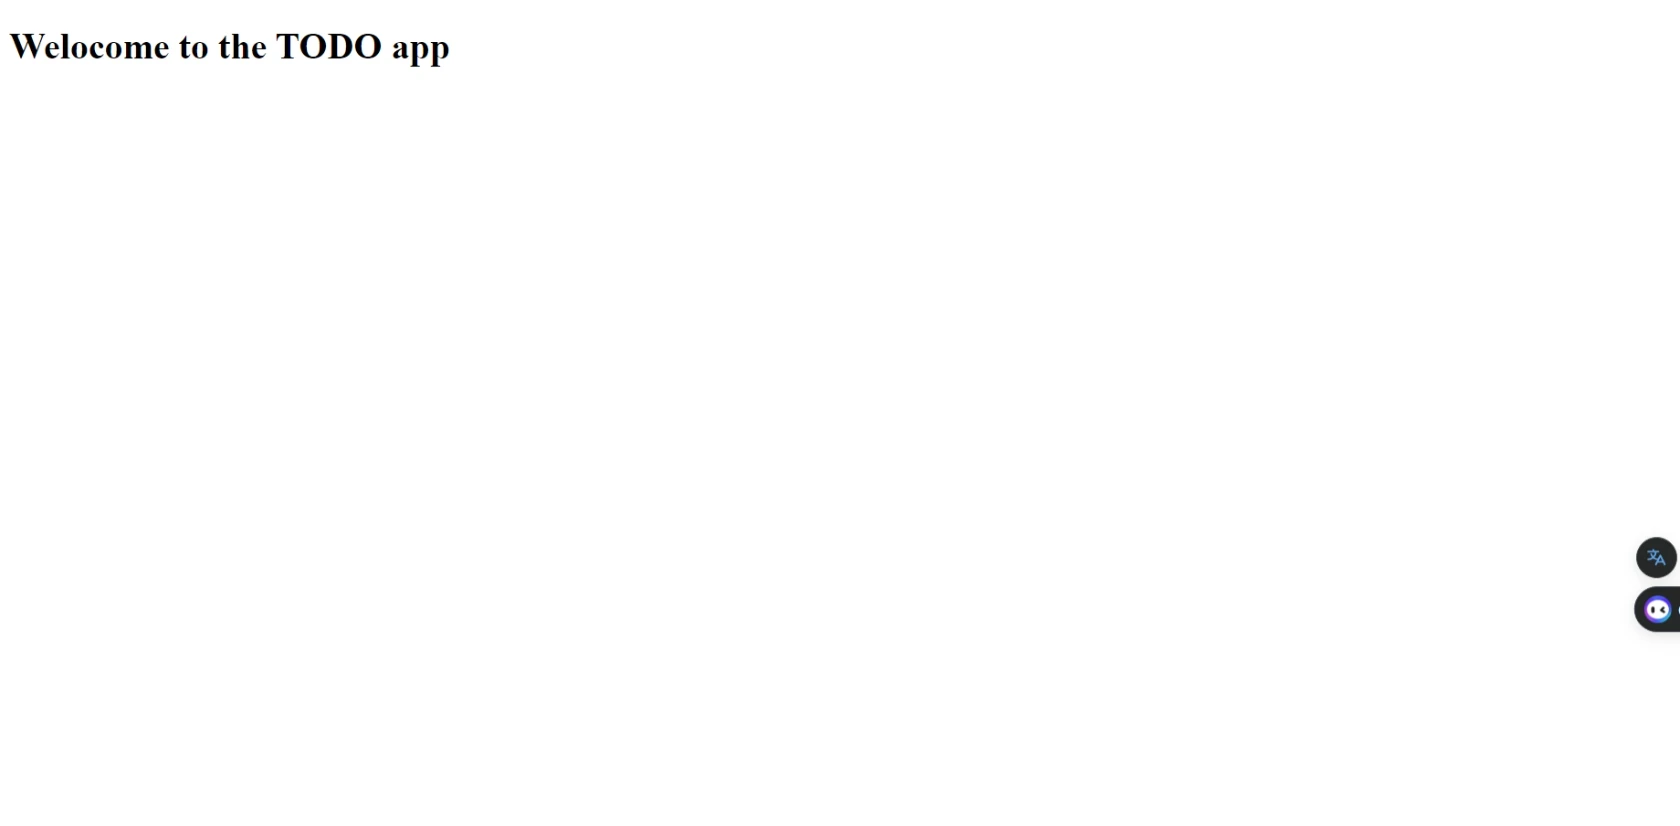
You should now be able to access your application at http://localhost:8000.

Add HTMX and Tailwindcss
Next, we will add HTMX and Tailwind CSS to our application. We will use a CDN for this tutorial. Update the app.blade.php file as follows:
<!DOCTYPE html>
<html lang="en">
<head>
    <meta charset="UTF-8">
    <meta name="viewport" content="width=device-width, initial-scale=1.0">
    <title>TODO APP</title>

    <!-- HTMX cdn -->
    <script
        src="https://unpkg.com/htmx.org@1.9.5"
        integrity="sha384-xcuj3WpfgjlKF+FXhSQFQ0ZNr39ln+hwjN3npfM9VBnUskLolQAcN80McRIVOPuO"
        crossorigin="anonymous"
    >
    </script>

		<!-- TailwindCss -->
    <script src="https://cdn.tailwindcss.com"></script>

</head>
<body class="bg-gray-200 min-h-screen flex items-center justify-center">

	<div class="bg-white shadow-md rounded px-8 pt-6 pb-8 mb-4 flex flex-col">
			<h1 class="mb-5 text-2xl">Welcome to the TODO app</h1>


	</div>

</body>
</html>
Now, we have all our dependencies installed and setup. Let’s get into the coding part.
List all Todos
First, we need to fetch all todos from our database. Update the index method in the TodoController as follows:
use App\Models\Todo;

public function index(Request $request) {
    $todos = Todo::latest()->get();

    return view('app',compact('todos'));
}
This method fetches all todos from the database and passes them to the app view.
Next, we need to display these todos in our view. Update the app.blade.php file as follows:
<!-- Todos List -->
<ul
		id="todo-list"
		class="list-reset"
>
    @forelse ($todos as $todo)
        <p>{{ $todo->name }}</p>
    @empty
         <li class="py-2 px-4 bg-red-100 text-red-700 border-l-4 border-red-500">
						No todos yet !
					</li>
    @endforelse
</ul>
This code displays each todo in an unordered list. If there are no todos, it displays a message saying “No todos yet!”.
Create a Todo
Next, we need to create a form for adding new todos. we need to handle the form submission. Add the following route to the web.php file:
// web.php

Route::post('/todo', [TodoController::class,'store'])->name('store');
Next, add the following method to the TodoController:
public function store(Request $request) {

    $validated = $request->validate([
        'name' => 'required|string'
    ]);

    $todo = Todo::create($validated);

    return view('partials.todo-item',[
        'todo' => $todo
    ]);
}
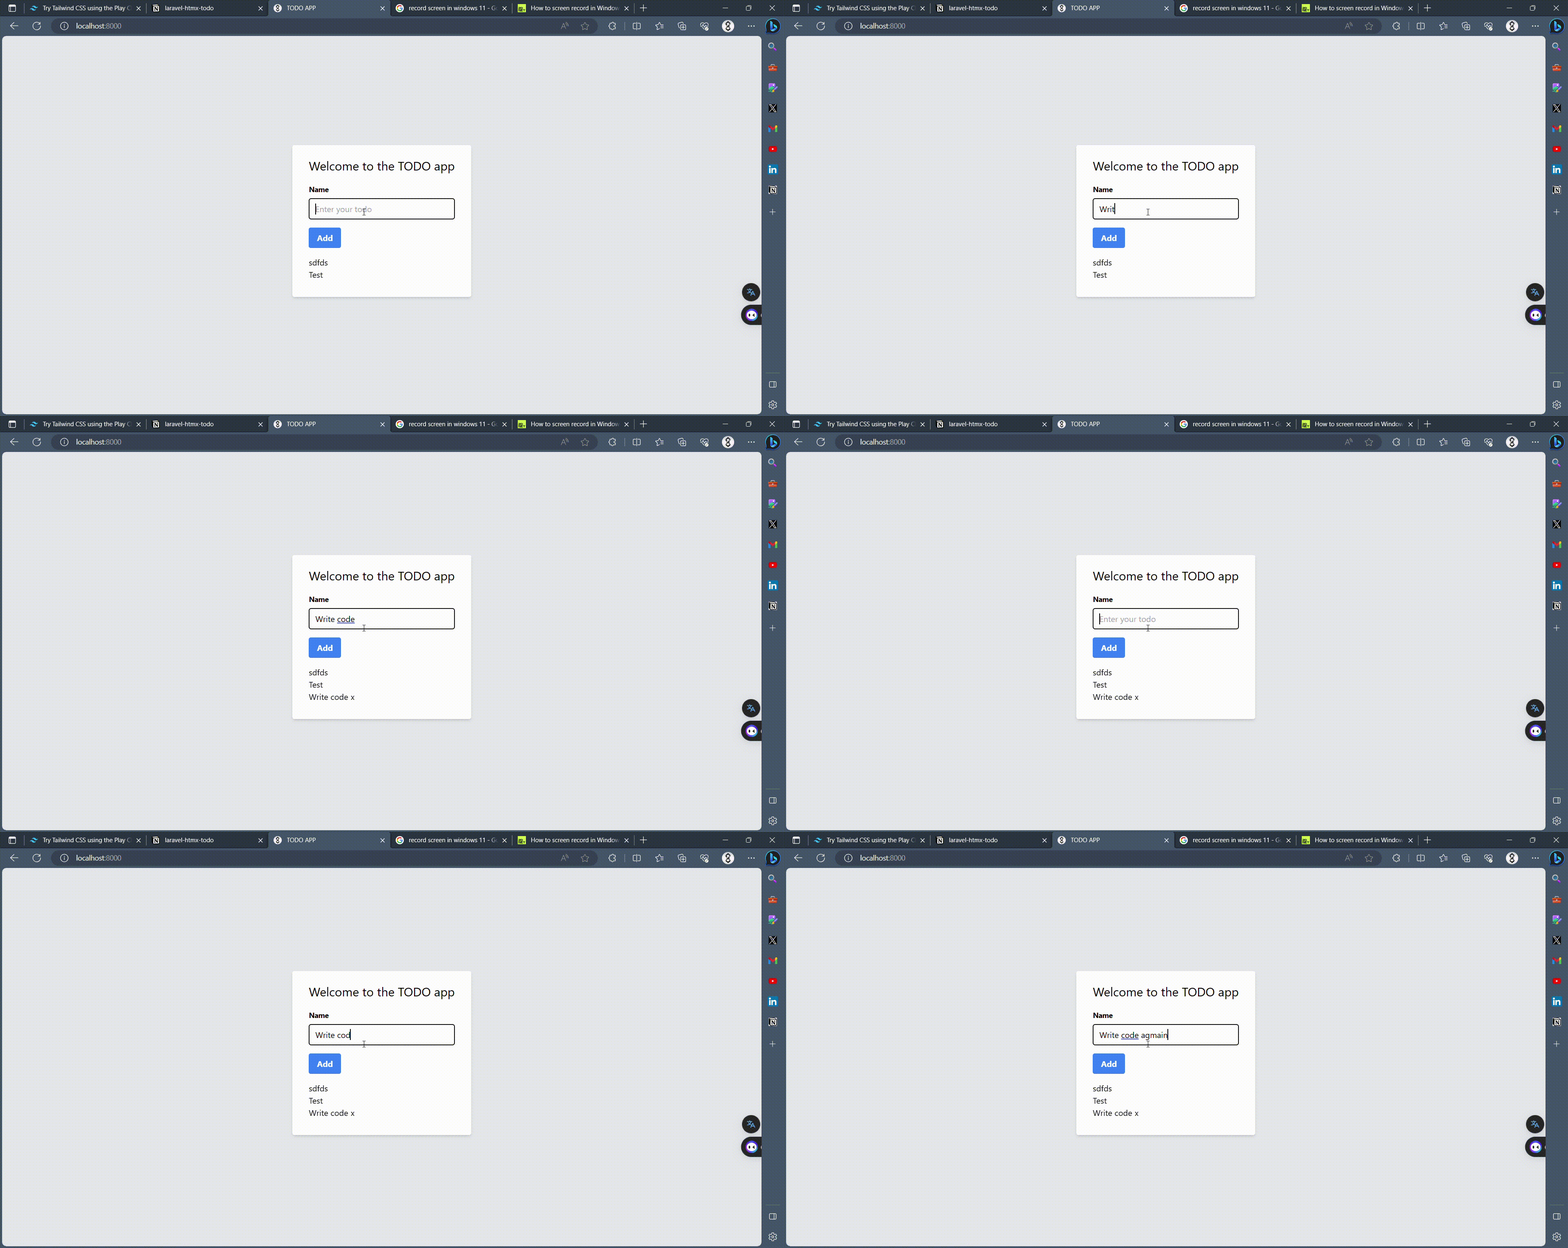
This method validates the request data, creates a new todo, and returns a partial view with the new todo.
Finally, create a new file todo-item.blade.php inside the resources/views/partials directory and add the following code:
resources
├───css
├───js
└───views
    │   app.blade.php
    ├───pages
    └───partials
            todo-item.blade.php
For the html partial component, just add the html related to only one todo. In our simple case we only have one <li> element.
<li>{{ $todo->name }}</li>
Now we have all our required component let’s send the request with HTMX
<!-- Add todo form -->
<form
    hx-post="/todo"
    hx-target="#todo-list"
    hx-swap="beforeend"
    class="mb-4"

>
    @csrf
    <div class="mb-4">
        <label class="block text-grey-darker text-sm font-bold mb-2" for="todo">
            Name
        </label>

        <input
            class="shadow appearance-none border rounded w-full py-2 px-3 text-grey-darker"
            type="text"
            name="name"
            placeholder="Enter your todo"
        >
    </div>
    <button
        class="bg-blue-500 hover:bg-blue-dark text-white font-bold py-2 px-4 rounded"
        type="submit"
    >
        Add
    </button>
</form>

<!-- Todos List -->
This form sends a POST request to /todo when submitted. The hx-post attribute is used by HTMX to make the request. The hx-target and hx-swap attributes tell HTMX where to place the response from the server.

Delete a Todo
Next, we need to add the ability to delete todos. Add the following route to the web.php file:
Route::delete('/todo/{todo}', [TodoController::class,'destroy'])->name('destroy');
This route will handle the deletion of todos.
Next, add the following method to the TodoController:
public function destroy(Request $request,Todo $todo) {
    $todo->delete();

    // Htmx checks for 200 status code
    return 'Deleted';
}
This method deletes the specified todo and returns a response with a 200 status code.
Finally, update the todo-item.blade.php file as follows:
<li class="flex items-center justify-between p-4 bg-white shadow rounded-md mb-2">
    <span class="@if($todo->is_completed) line-through text-gray-500 @else text-gray-800 @endif">
        {{ $todo->name }}
    </span>

    <!-- To Delete -->
    <form class="inline-block">
        @csrf
        <button
            hx-delete="/todo/{{$todo->id}}"
            class="bg-red-500 hover:bg-red-700 text-white font-bold py-1 px-2 rounded"
        >
            x
        </button>
    </form>

</li>
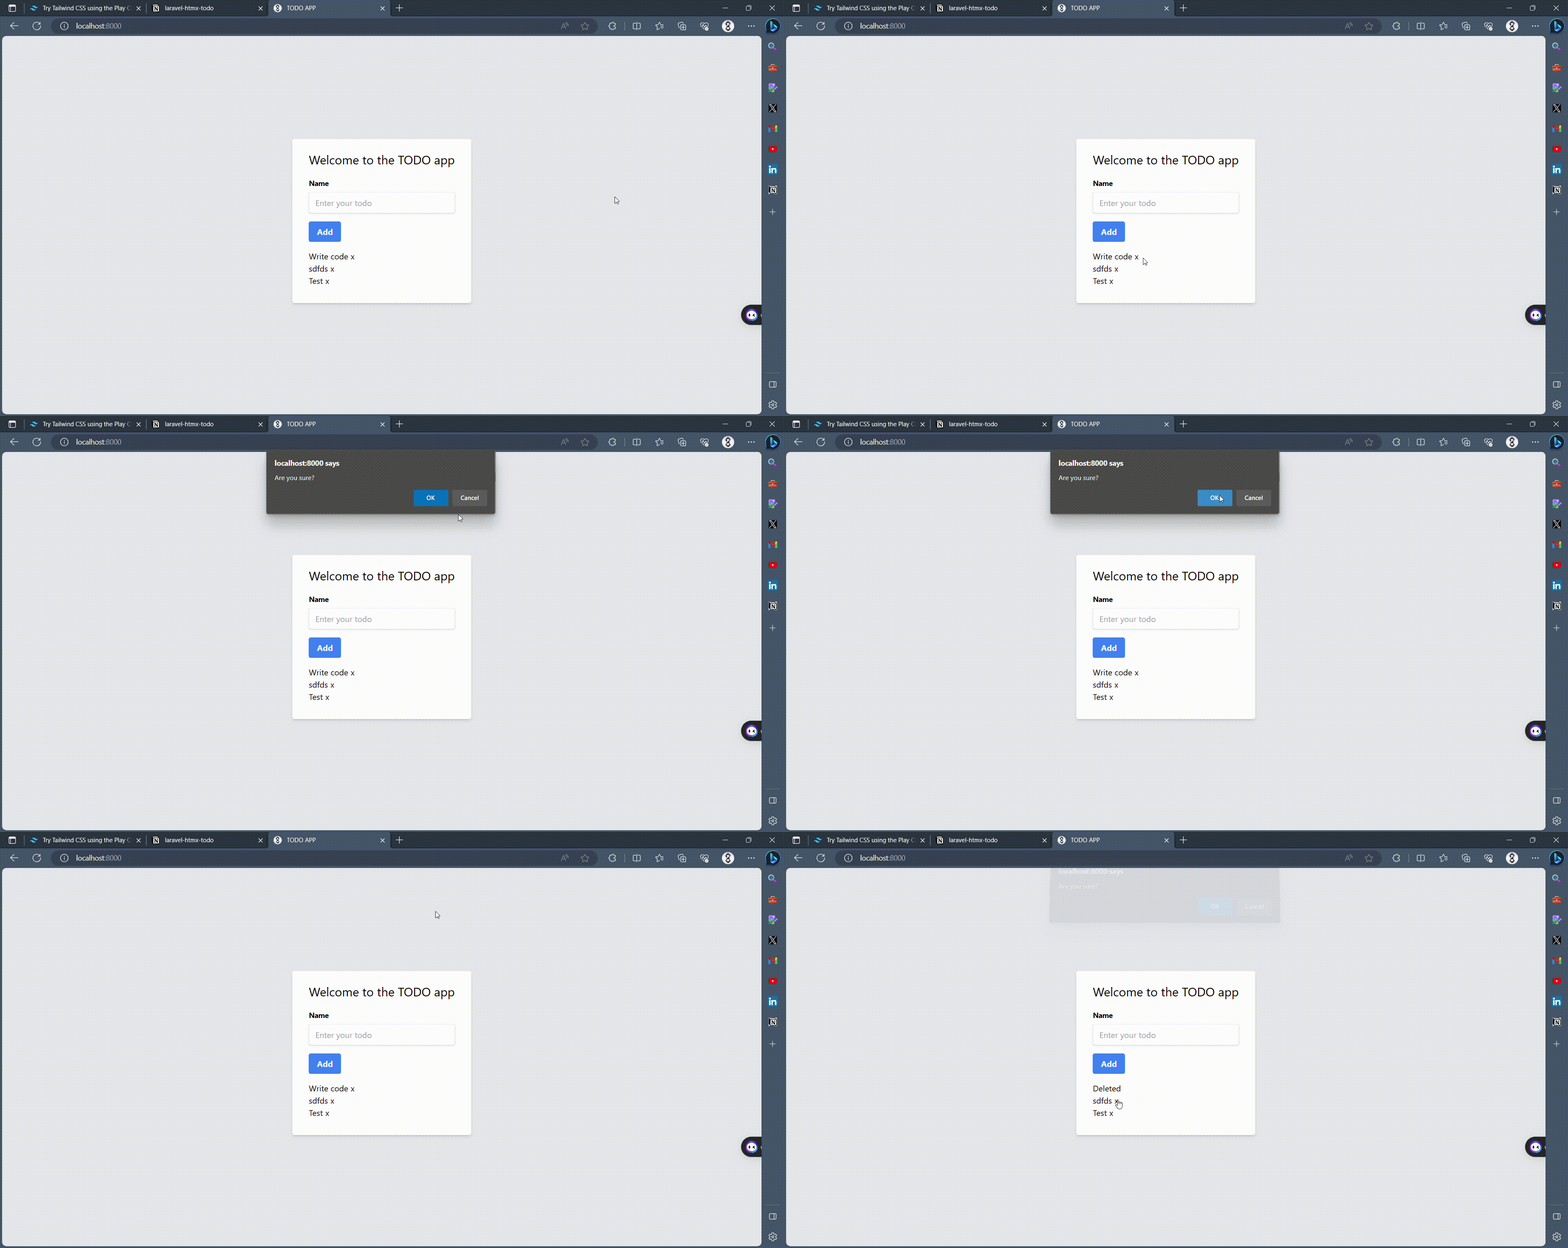
This code adds a delete button to each todo. When clicked, it sends a DELETE request to /todo/{todo}. The hx-delete attribute is used by HTMX to make the request. The hx-confirm attribute adds a confirmation prompt before deleting the todo. The hx-target attribute tells HTMX to remove the closest li element when the request is successful.
Update the app.blade.php file to use the partial, so that we could avoid duplicate code.
<!-- Todos List -->
<ul
    id="todo-list"
    hx-confirm="Are you sure?"
    hx-target="closest li"
    hx-swap="outerHTML swap:1s"
>
    @forelse ($todos as $todo)
        @include('partials.todo-item')
    @empty
        <li class="py-2 px-4 bg-red-100 text-red-700 border-l-4 border-red-500">
            No todos yet !
        </li>
    @endforelse
</ul>

Update a Todo
Finally, we need to add the ability to update todos. Add the following route to the web.php file:
Route::put('/todo/{todo}/toggle-completed', [TodoController::class,'destroy'])
		->name('toggle-completed');
This route will handle the updating of todos.
Next, add the following method to the TodoController:
public function toggleCompleted(Todo $todo) {
    $todo->is_completed = !$todo->is_completed;

    $todo->save();

    return view('partials.todo-item',[
        'todo' => $todo
    ]);
}
This method toggles the is_completed attribute of the specified todo and returns a partial view with the updated todo.
Finally, update the todo-item.blade.php file as follows:
<li class="flex items-center justify-between p-4 bg-white shadow rounded-md mb-2">
    <span class="@if($todo->is_completed) line-through text-gray-500 @else text-gray-800 @endif">
        {{ $todo->name }}
    </span>

    <!-- To Delete -->
    <form class="inline-block">
        @csrf
        <button
            hx-delete="/todo/{{$todo->id}}"
            class="bg-red-500 hover:bg-red-700 text-white font-bold py-1 px-2 rounded"
        >
            x
        </button>
    </form>

    <!-- To Update -->
    <form class="inline-block ml-2">
        @csrf
        <button
            hx-put="/todo/{{$todo->id}}/toggle-completed"
            class="bg-blue-500 hover:bg-blue-700 text-white font-bold py-1 px-2 rounded"
        >
            Toggle Completed
        </button>
    </form>
</li>
This code adds a button to each todo for marking it as complete or incomplete. When clicked, it sends a PUT request to /todo/{todo}/toggle-completed.
The hx-post attribute is used by HTMX to make the request. The hx-target attribute tells HTMX to replace the closest li element with the response from the server.
Conclusion
And that’s it! You have now created a simple Todo application using Laravel, HTMX, and Tailwind CSS. This application allows you to create, update, and delete todos without having to refresh the page. I hope you found this tutorial helpful. Happy coding!

