

Reminder
You need credit card or Fly IO Credit to host your app.
I started this article with above note because I have seen articles that claims to show you free hosting but at the end, the service they are suggesting requires credit card to use the free tier. I didn’t want to waste your time.
What is Flyio ?
Fly is a full Linux micro-VMs, built from your own containers with a single command or API call.
One of the key features of Flyio is the credit feature. If you don’t have access to credit card, you can ask someone else to pay for credit and start using Flyio or you can gift Flyio credits to someone you know.
Especially if you are in a third world country and don’t have access to credit cards or it is hard to come by.
Pricing
Flyio offers free resources and additional resources are billed at the usage-based pricing. The free tier is sufficient for a hobby project or to get you started.
Resources included for free on all plans:
- Up to 3 shared-cpu-1x 256mb VMs
- 3GB persistent volume storage (total)
- 160GB outbound data transfer
In this article I will show how to minimize your spendings or even host it for completely free using the free resources that Flyio offers.
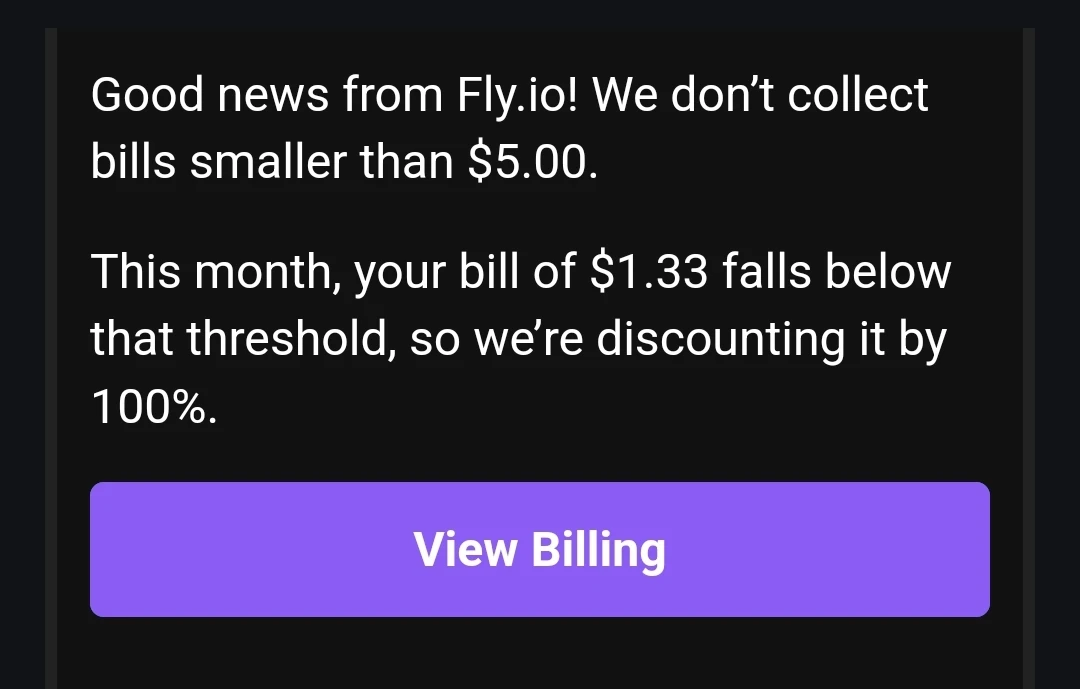
Fly io wont charge you if your monthly bill is less than $5.
Get Started
We will be hosting a Laravel app with a Postgres DB, a 1GB volumes for our Storage folder and a VM for our Laravel app.
So, in short, we will use the bellow Flyio resources.
- A 256MB VM for our Laravel app.
- A 256MB VM for our Postgres DB.
- A 1GB volume for our storage.
As you can see, we are using only the free resources the Flyio gives us.
Flyio Concepts:
- App:
- Is associated with VM and Volumes
- Apps can have more than one Machine.
- Virtual Machines (VMs):
- Every Machine will belong to a Fly App; Apps can have more than one Machine.
- Gets rebuilt from scratch each time you deploy your app, or when the Machine is restarted.
- Volumes:
- Volumes are local persistent storage for VMs.
Deploy
-
Install flyctl cli app
-
MacOS
brew install flyctl -
Linux
curl -L https://fly.io/install.sh | sh -
Windows
pwsh -Command "iwr https://fly.io/install.ps1 -useb | iex"
Confirm the installation by running
fly -v -
-
Navigate to your Laravel app and run the command.
Fly will suggest some default resources specification to create, select customize to discard the suggested resources and to create with our own desired specifications.
fly launchThe
launchcommand adds a few files to your code base.By default, fly will give you powerful VM with more RAM and storage. if you go ahead with that you will be charged some amount for creating the resources.
You will be prompted to deploy app, choose no.
-
fly launchwill createDockerfile,.dockerignore,fly.tomland.flyfolder to configure the deployment of your app. read more (https://fly.io/docs/laravel/#some-notes) -
The
fly.tomlis used to configure your app. we will add our volume associated with our app and also our non-private environment variables.
-
-
Now run
fly deployto deploy your app.fly deployFly will give you
fly.devsubdomain for your app. you should be able to access your application through that.
Setup the Database
-
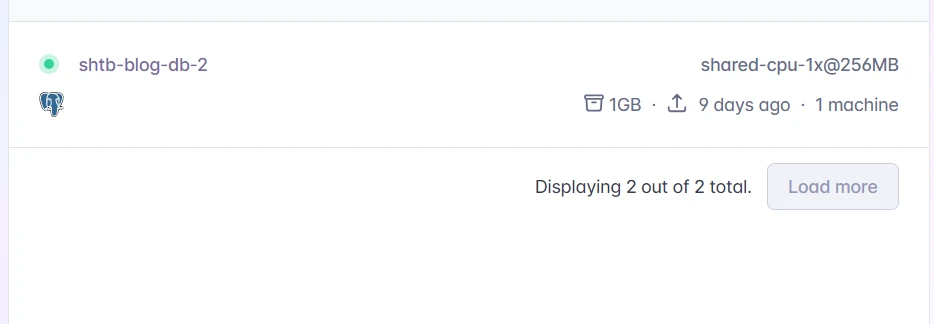
Create a Postgres app.
Fly makes this easy by giving us a command to create configured Postgres app.> fly postgres create ? Choose an app name (leave blank to generate one): appname ? Select Organization: Andreas Chandra (personal) ? Select regions: Singapore, Singapore (sin) ? Select configuration: Development - Single node, 1x shared CPU, 256MB RAM, 1GB disk• Then select machine type
Development — Single nodesince it is free.After selecting options, you will get the information about your database.
Save your credentials.
-
Add your database credentials to the fly secretes.
fly secrets set DB_URL="your postgres db url from previous step" -
Adjust your
fly.tomlfile to use Postgres database.... [env] APP_ENV = "production" LOG_CHANNEL = "stderr" LOG_LEVEL = "info" LOG_STDERR_FORMATTER = "Monolog\\Formatter\\JsonFormatter" SESSION_DRIVER = "cookie" SESSION_SECURE_COOKIE = "true" DB_CONNECTION= "pgsql" ... DO NOT PUT CREDETIAL HERE MAIL_PORT=587 MAIL_FROM_NAME="SHTB BLOG" ... -
Deploy your app.
fly deploy
Create a Volume for Storage
For large applications it is recommended to use external services such as s3 from aws but for a smaller apps you can use fly volumes.
-
Create a volume.
fly volume create <VOLUME_NAME> --region <REGION> --size <SIZE_IN_GB>For example, we want a volume named
storege_dirin the Warsaw region, with size of 1 GB.fly volume create storage_doir --region waw --size 1 -
Link the storage to your Laravel app.
Edit the
fly.tomlfile in your Laravel app and mount volume to your app.... [[vm]] cpu_kind = "shared" cpus = 1 memory_mb = 512 [mounts] source="storage_dir" destination="/var/www/html/storage" ... -
Our volume
storage_diris empty at the moment and if we deploy our app now, we will get errors. to fix these errors we need to copy the contents of ourstoragefolder to thestorage_dirvolume.-
Make a copy of your storage folder in a “backup” folder. You can name this directory
storage_cp -r storage storage_To do this create a new bash file in the
.flydirectory.touch .fly/scripts/00-volumes.sh-webp.webp)
FOLDER=/var/www/html/storage/app if [ ! -d "$FOLDER" ]; then echo "$FOLDER is not a directory, copying storage_ content to storage" cp -r /var/www/html/storage_/. /var/www/html/storage echo "deleting storage_..." rm -rf /var/www/html/storage_ fi- The condition statement checks if the app folder does not exist in the volumized storage folder. If it does not exist, it copies over the contents of the storage_ folder to the volumized storage folder.
-
Since the VM of our app will be deleted in inactive time. Add storage link command so that it is linked every time your app is created.
#!/usr/bin/env bash

/usr/bin/php /var/www/html/artisan config:cache --no-ansi -q
/usr/bin/php /var/www/html/artisan route:cache --no-ansi -q
/usr/bin/php /var/www/html/artisan view:cache --no-ansi -q

/usr/bin/php /var/www/html/artisan migrate --force
/usr/bin/php /var/www/html/artisan storage:link
-
Adding custom domain
When you create a Fly App, it is automatically given a fly.dev sub-domain, based on the app’s name.
The simplest option for directing traffic to your site is to create a CNAME record for your custom domain that points at your .fly.dev host. For example, if you have a custom domain called example.com and an app called exemplum, then you can create a CNAME record for example.com‘s.
You need to go to your domain DNS manager.
I use Netlify for DNS management and it is free to use.
-
Add a CNAME record from your custom domain to your
[fly.dev](http://fly.dev)submain-webp.webp)
-
Wait for some time and you are good to go.
Conclusion
The free resources policy of Flyio can change anytime so keep up with the upates from flyio and adjust you application resources accordingly.
I will try to keep this article updated if there are any changes in Flyio policy.